Proxmox VE 云桌面实战 ④ - 打造属于自己的Linux云电脑 - Ubuntu篇
前言
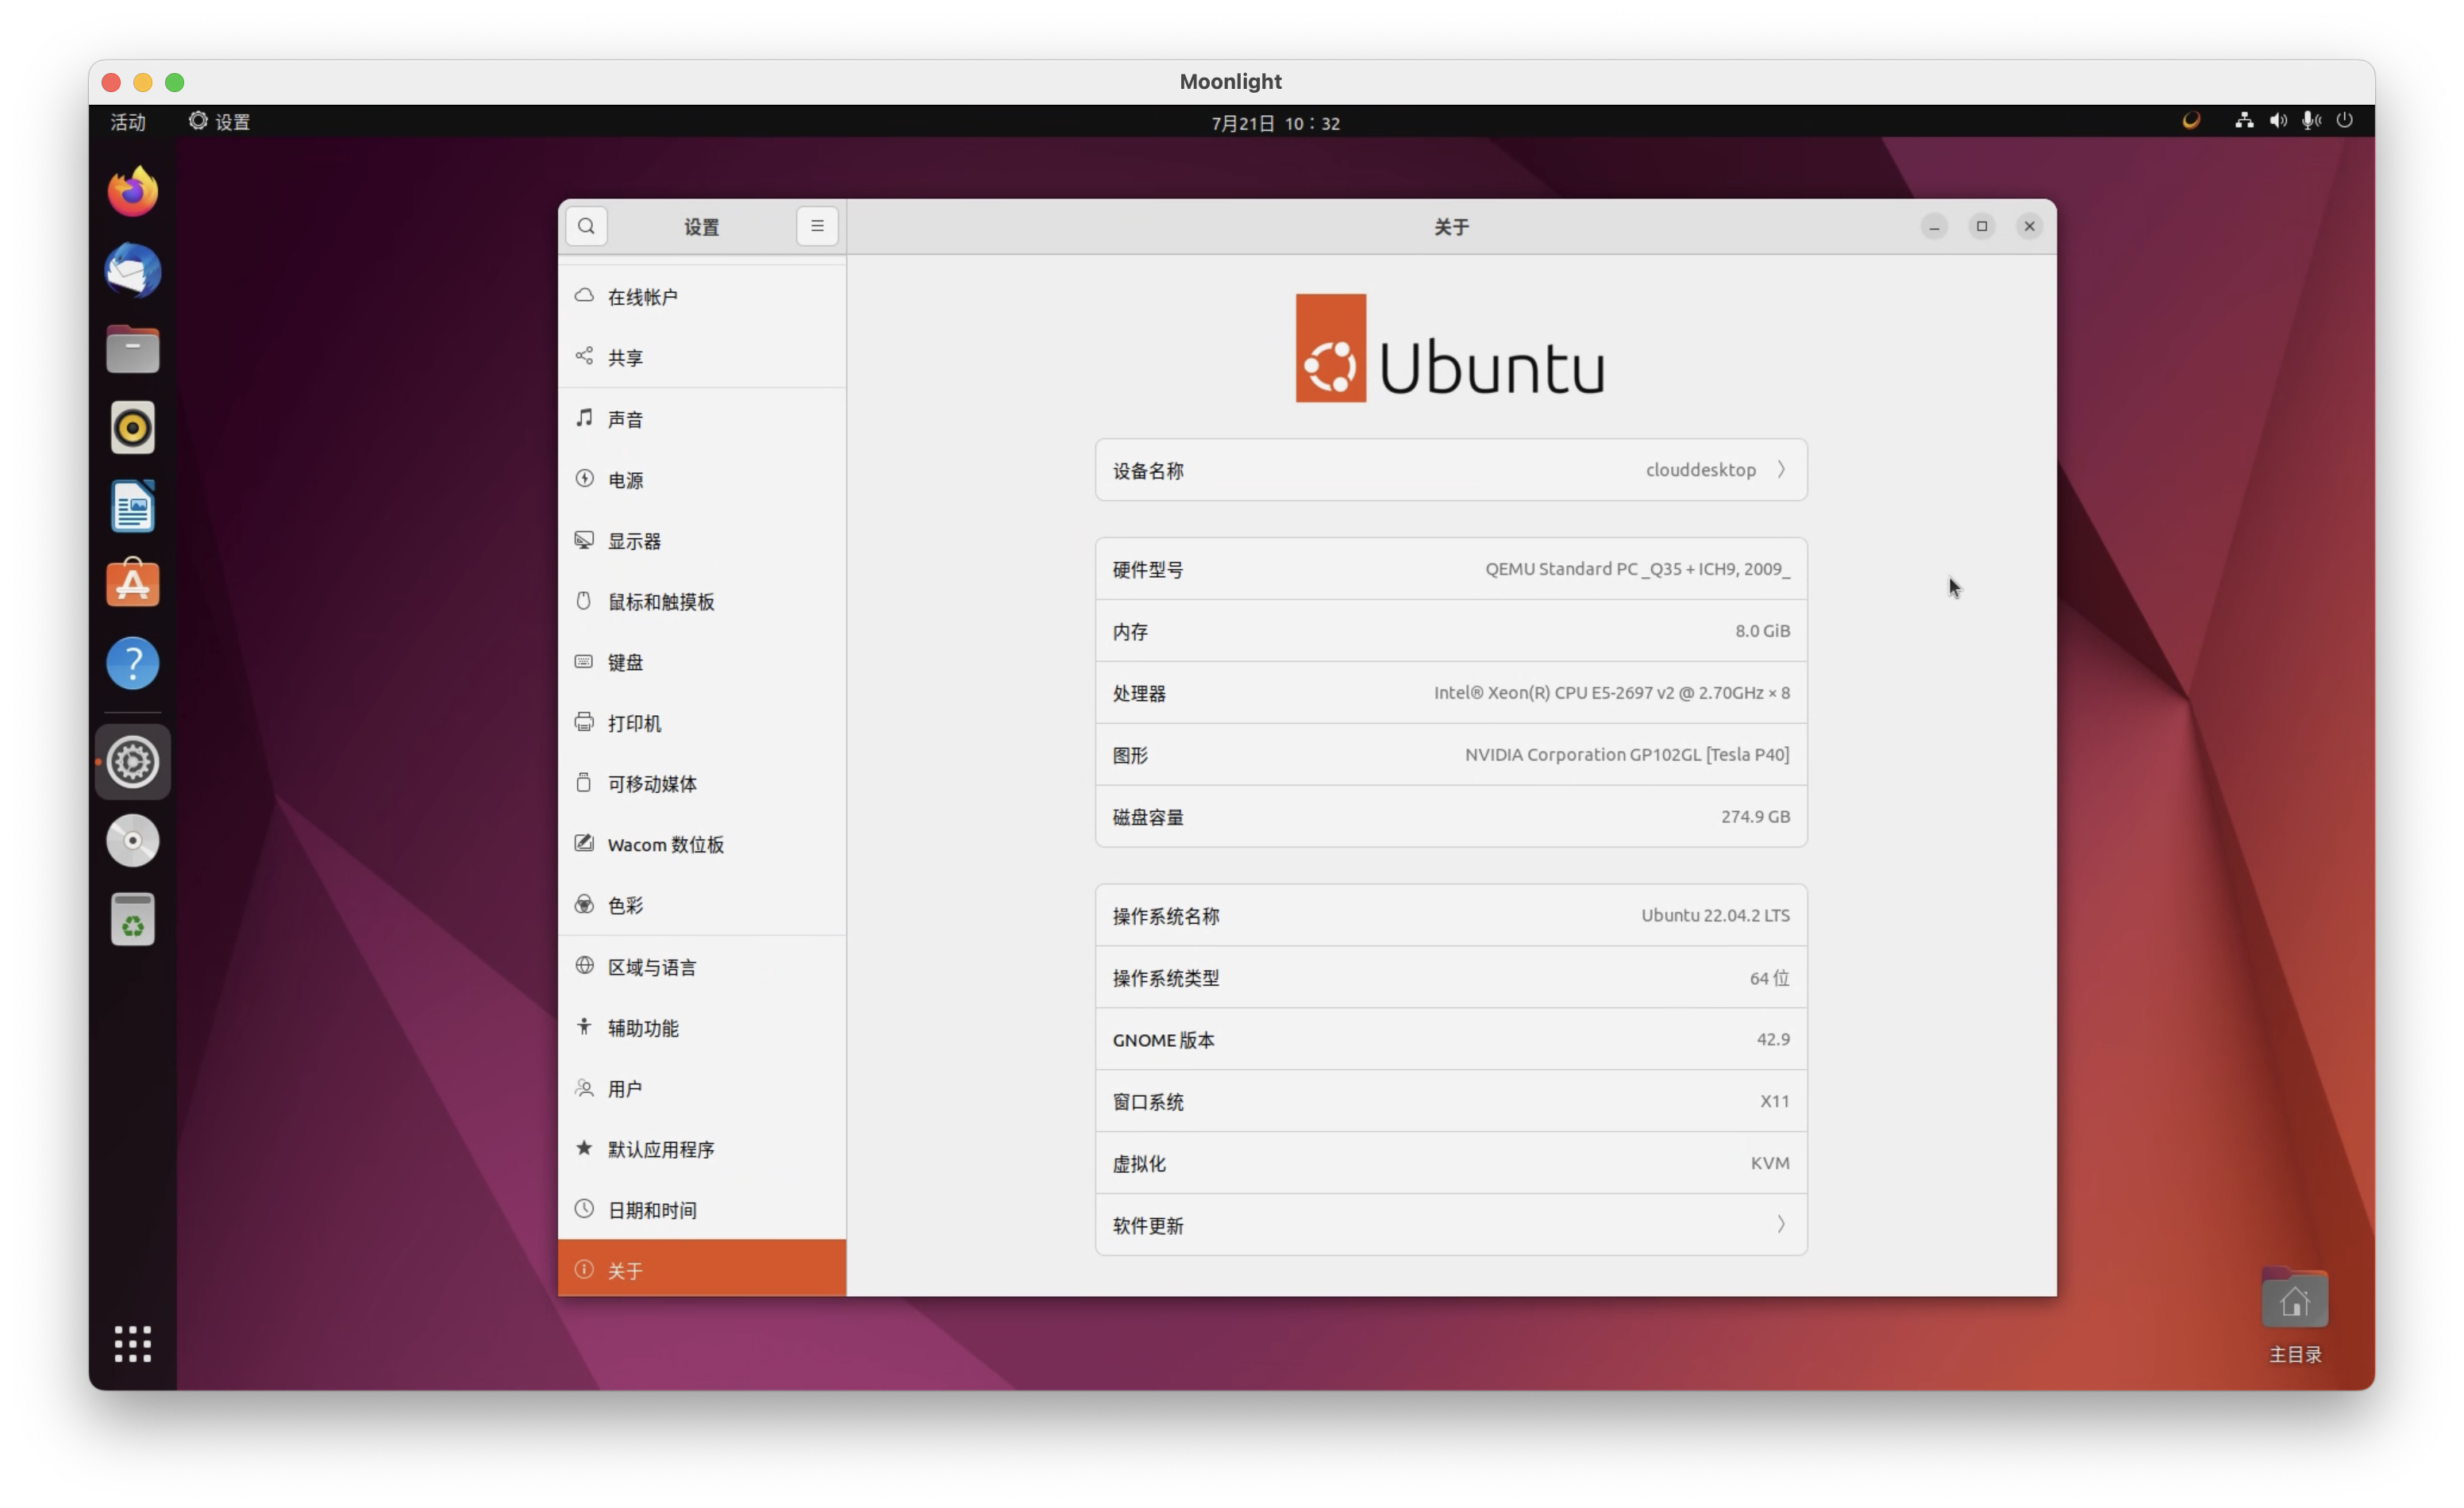
接上文,本文将讲述如何在Ubuntu 22.04.2 LTS上配置Sunshine云桌面环境
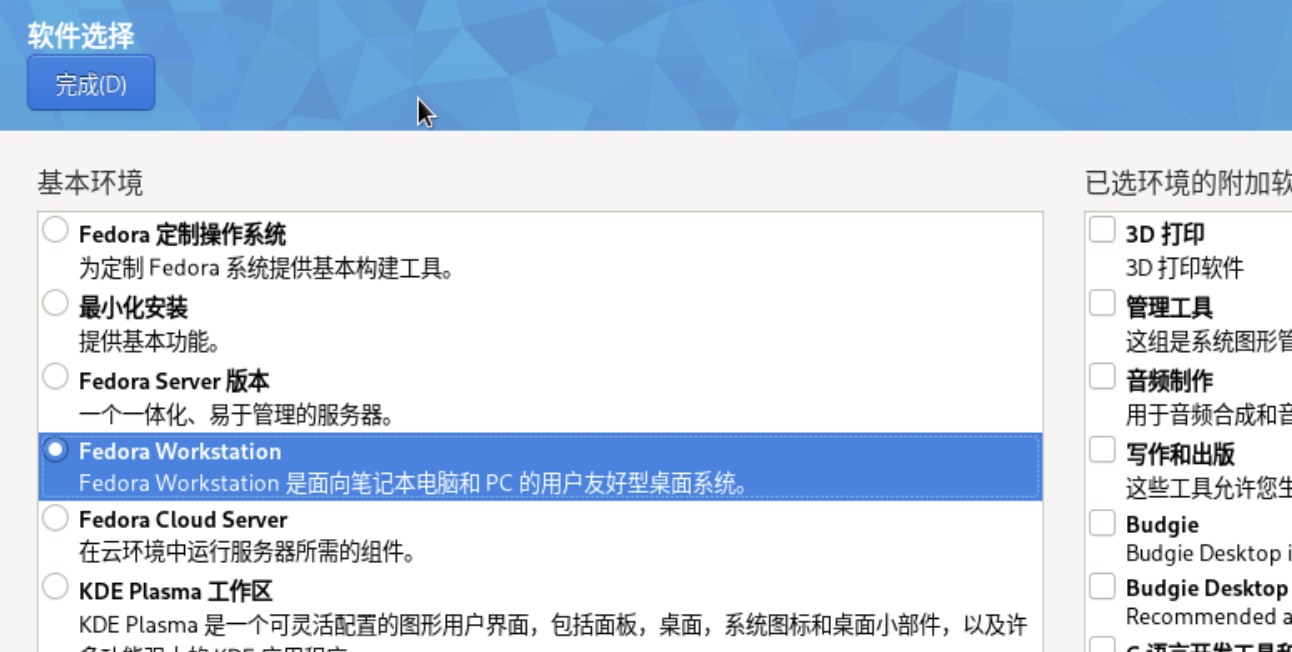
安装Ubuntu
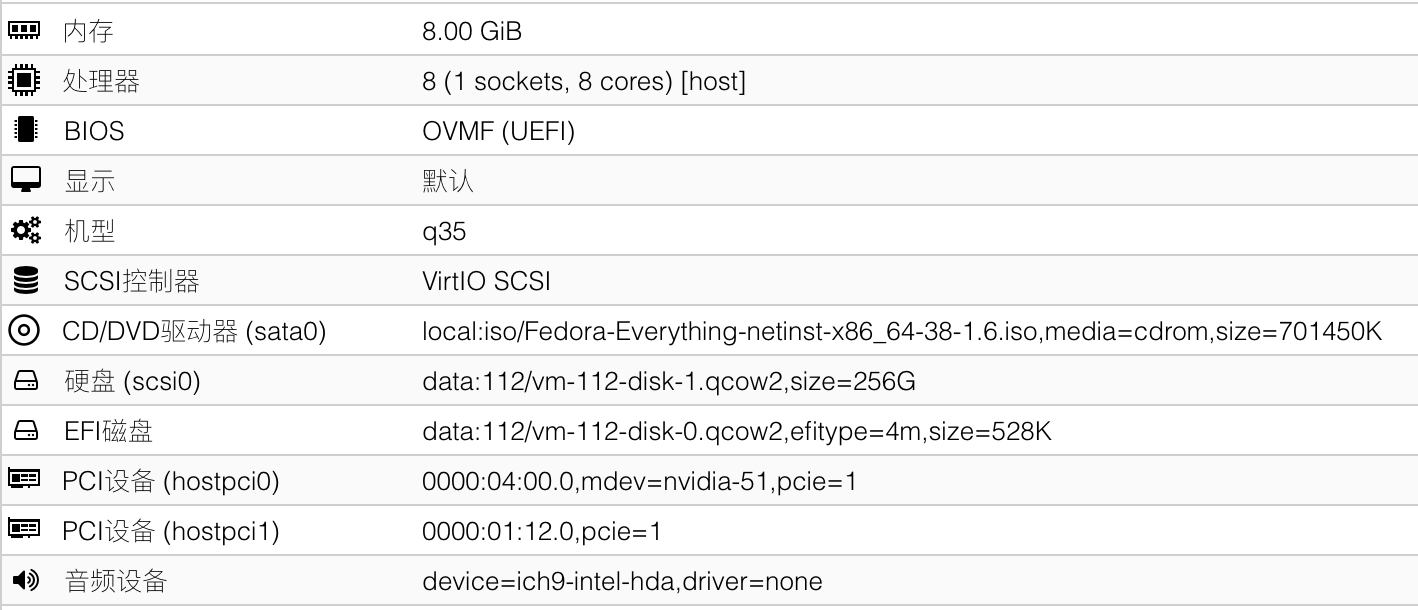
虚拟机配置同上文,为了方便安装NVIDIA驱动,同样不启用安全启动
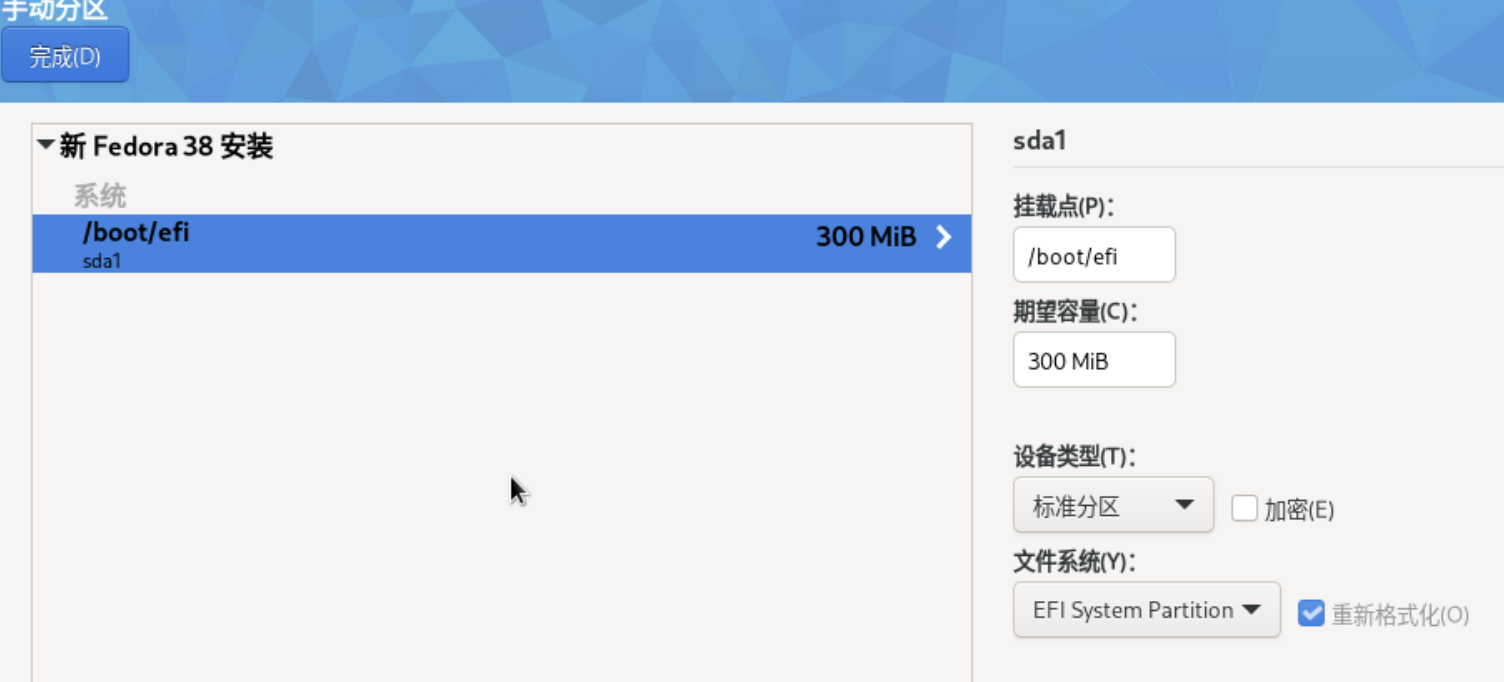
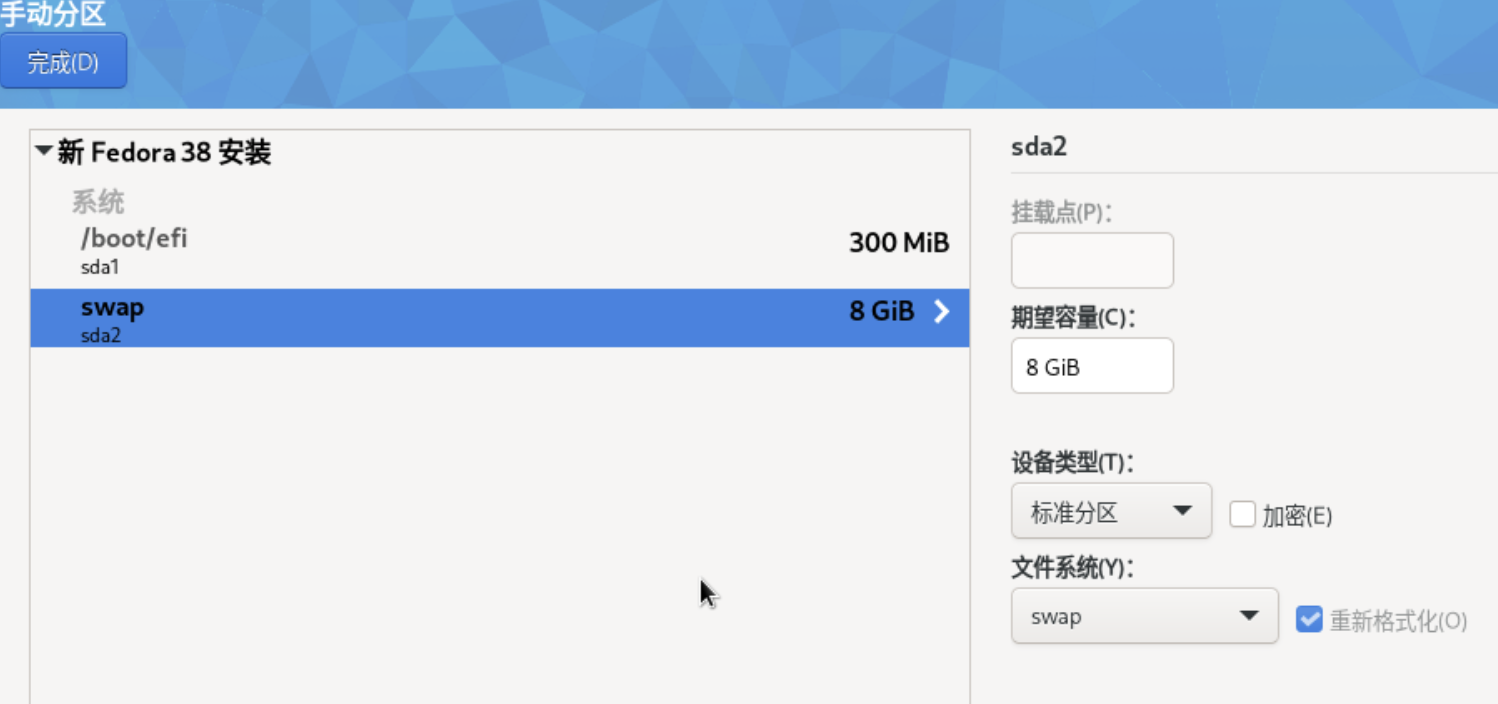
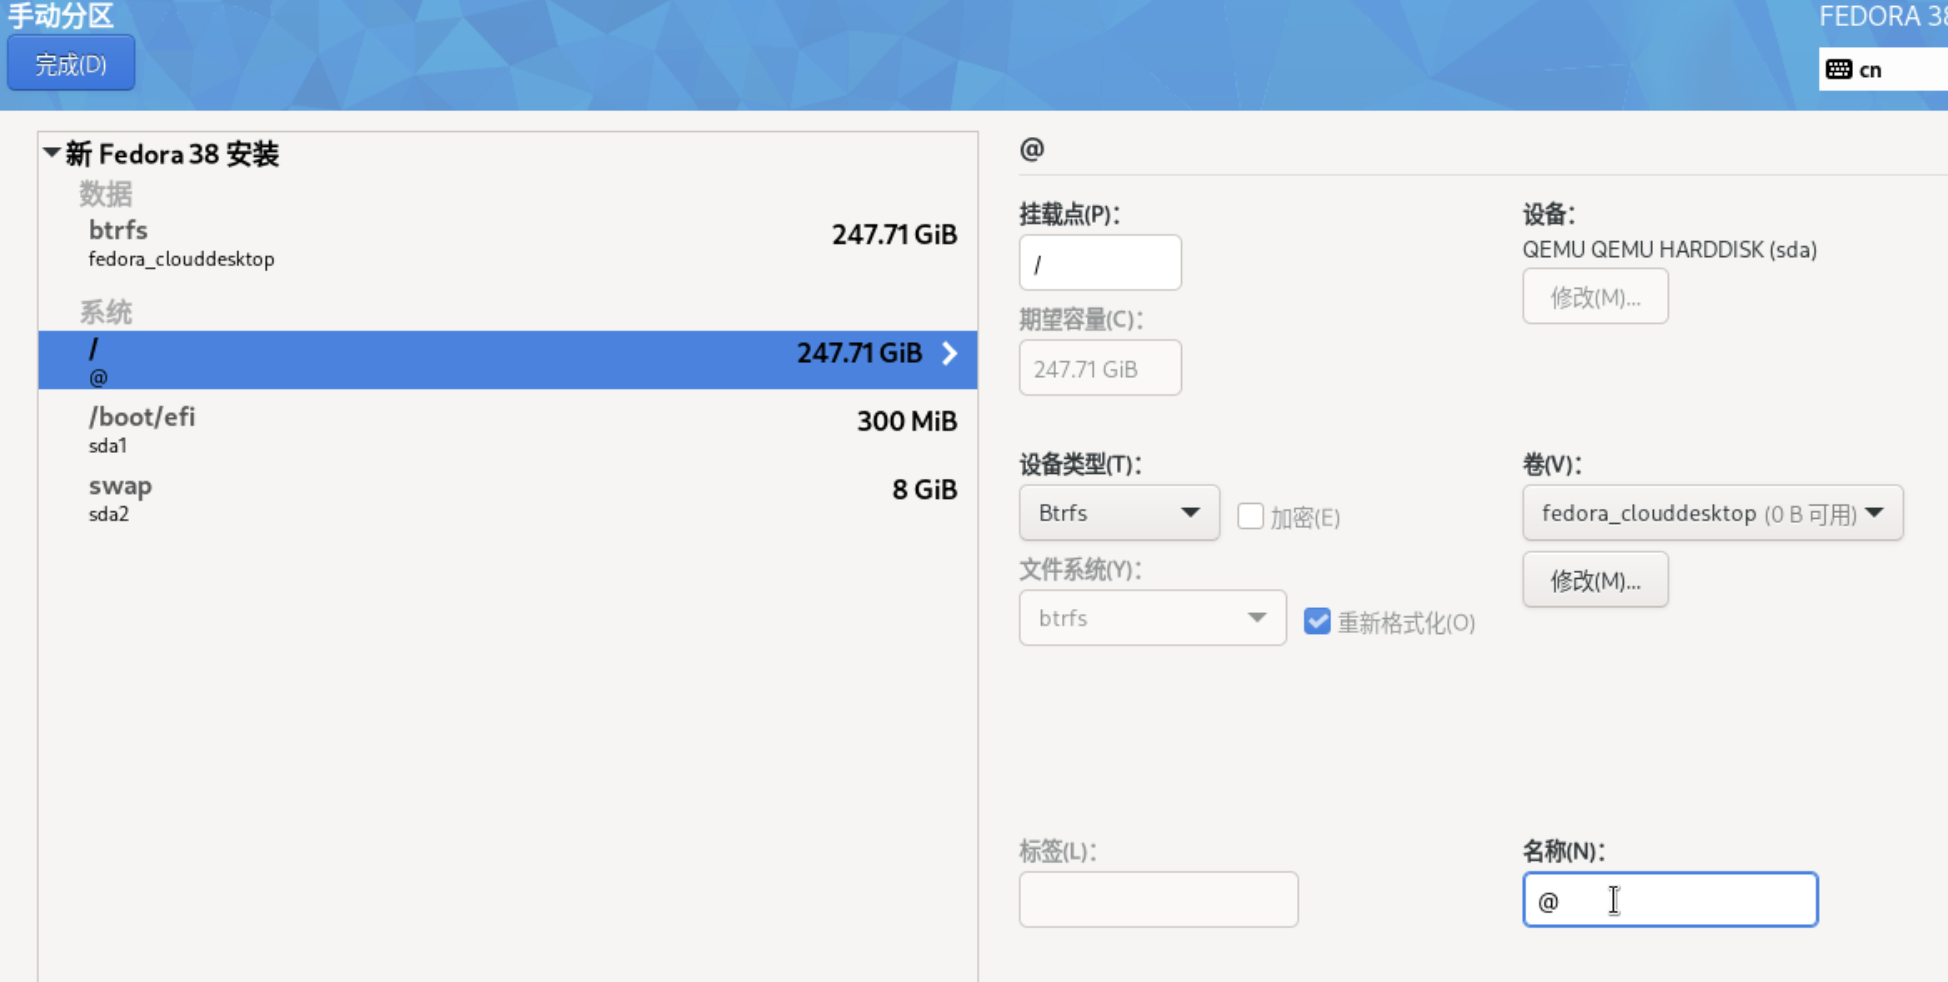
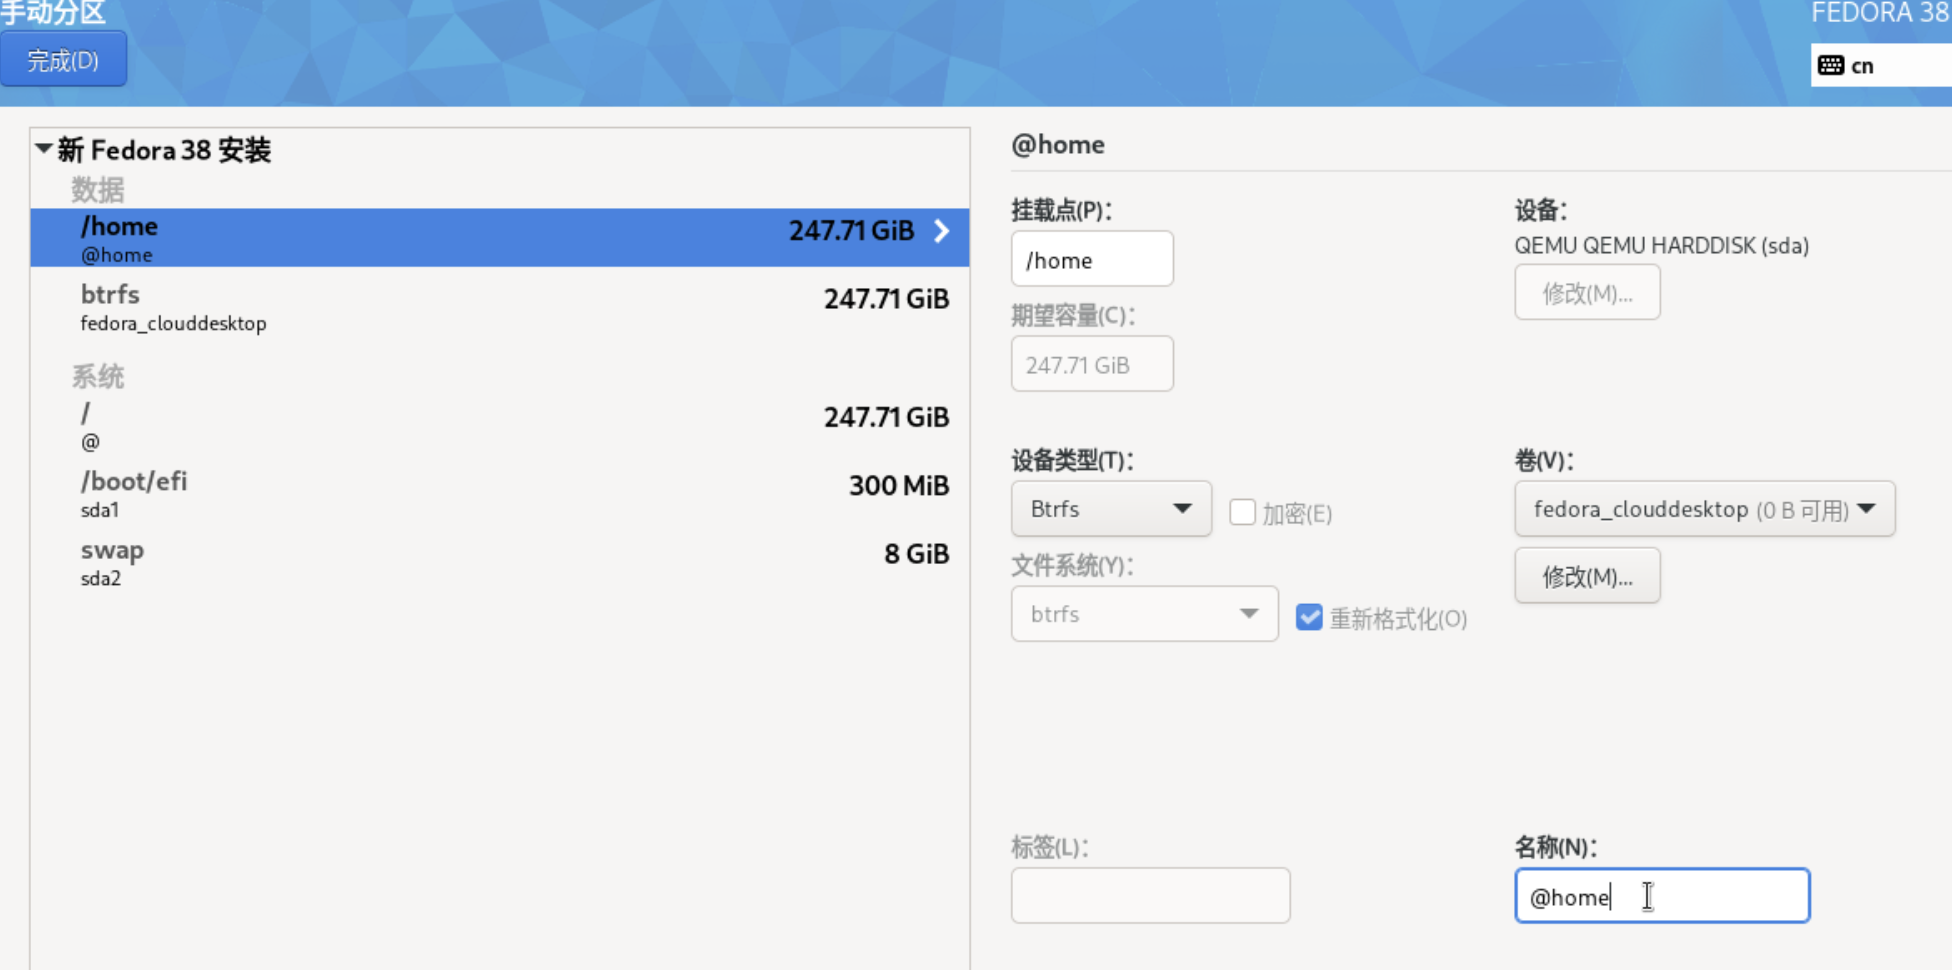
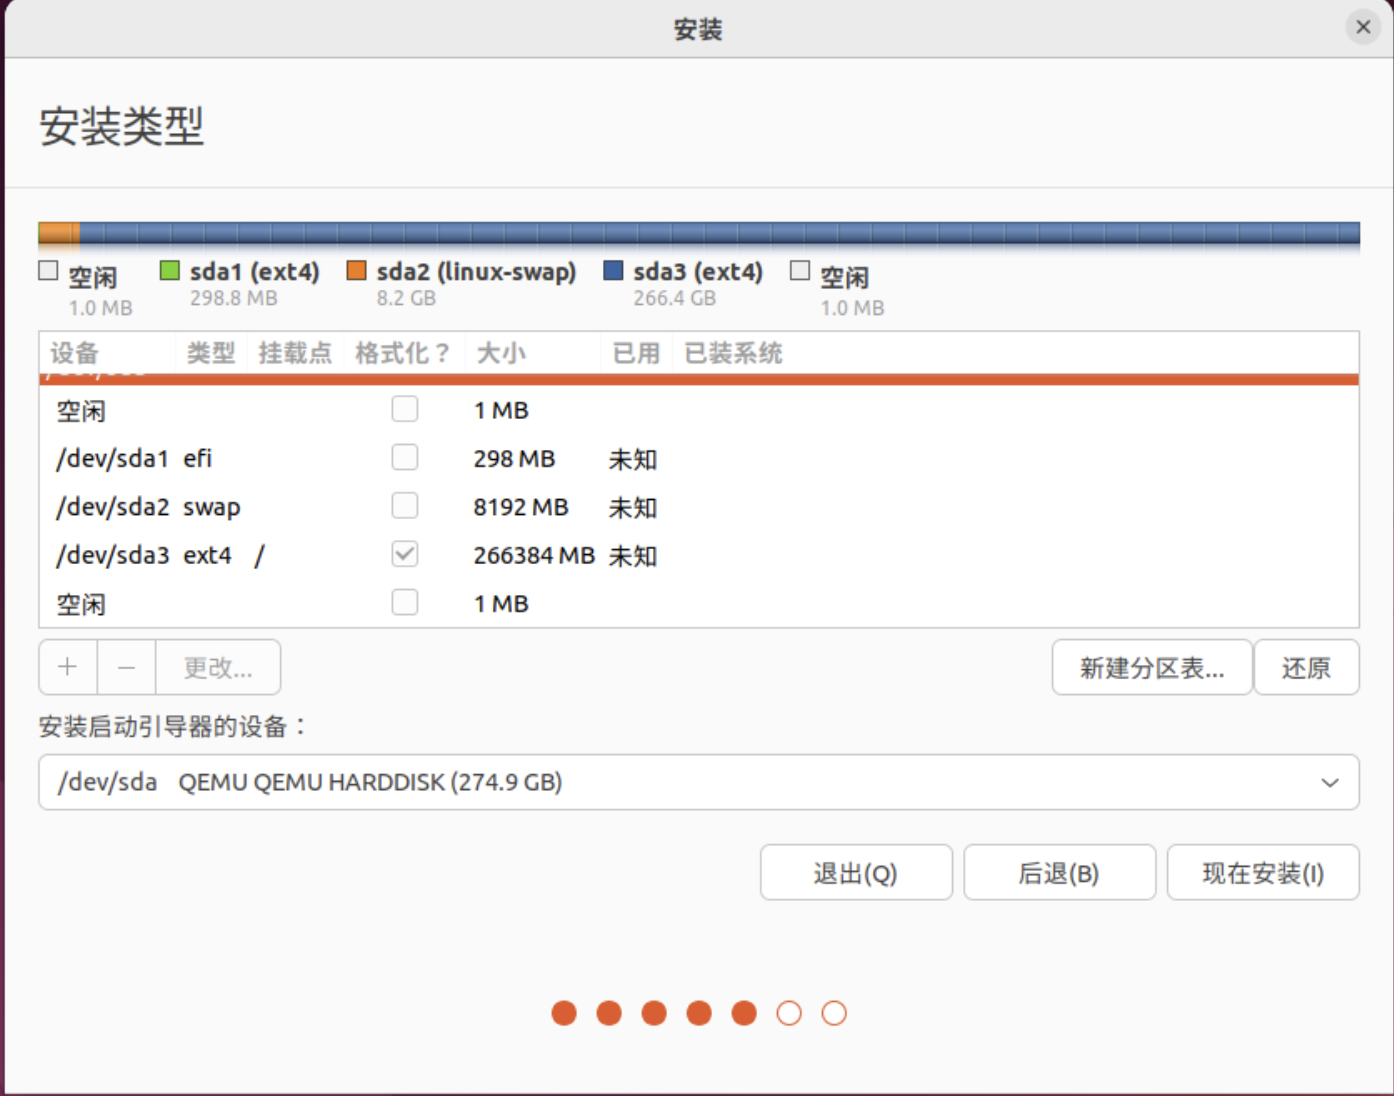
这里选择最简单的ext4分区:
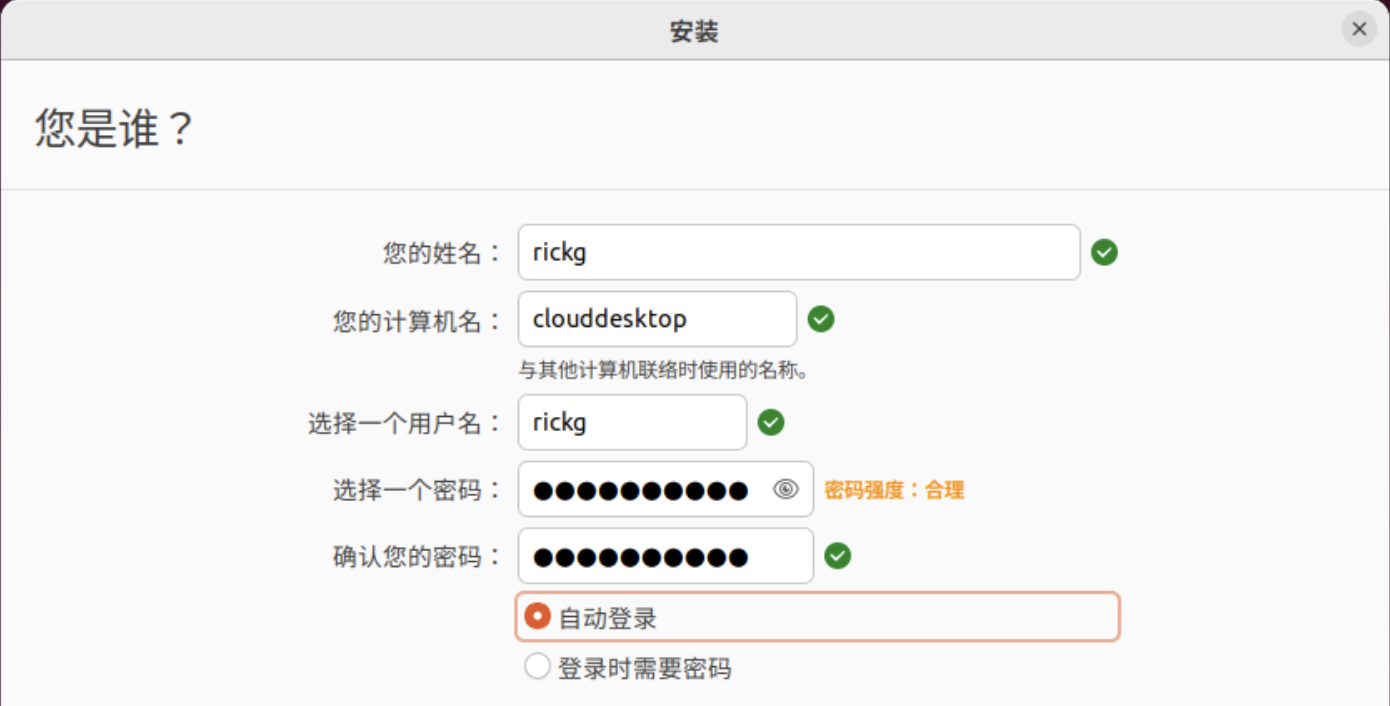
配置用户时,勾选自动登录,原因详见上文:
安装GRID驱动
确保系统最新
sudo apt update
sudo apt upgrade
如果升级了内核,则需重启
reboot安装依赖
sudo apt install linux-headers-$(uname -r) gcc make dkms libglvnd-core-dev libglvnd0 libglvnd-dev禁用nouveau驱动
echo "blacklist nouveau" >> /etc/modprobe.d/blacklist-nouveau.conf更新initramfs
sudo update-initramfs -u -k all重启到多用户模式
sudo systemctl set-default multi-user.target
reboot
安装GRID驱动
sudo -i
chmod +x ./NVIDIA-Linux-x86_64-535.54.03-grid.run
./NVIDIA-Linux-x86_64-535.54.03-grid.run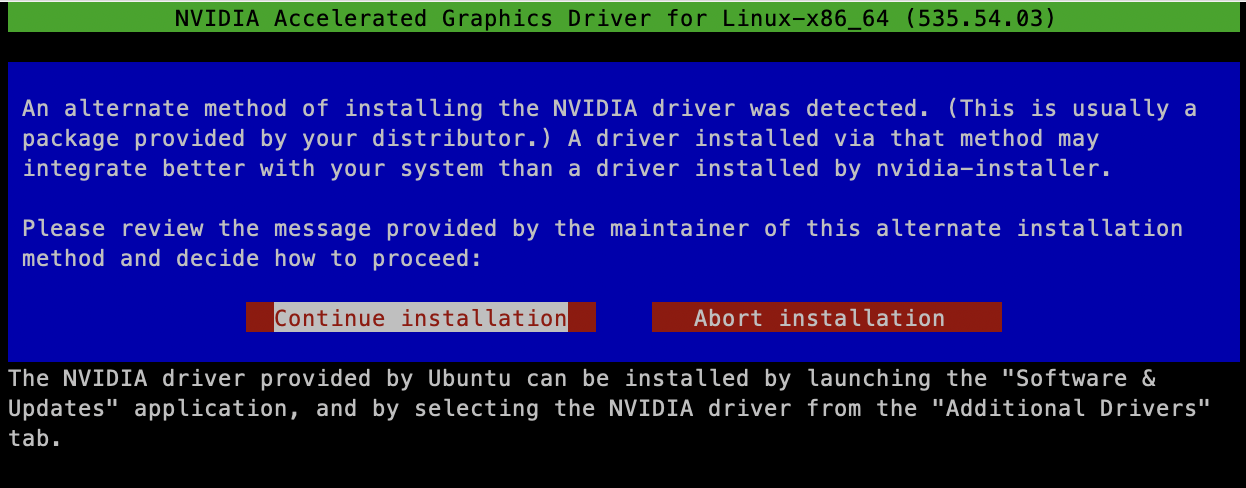
弹出建议使用软件源安装的提示,选择继续安装
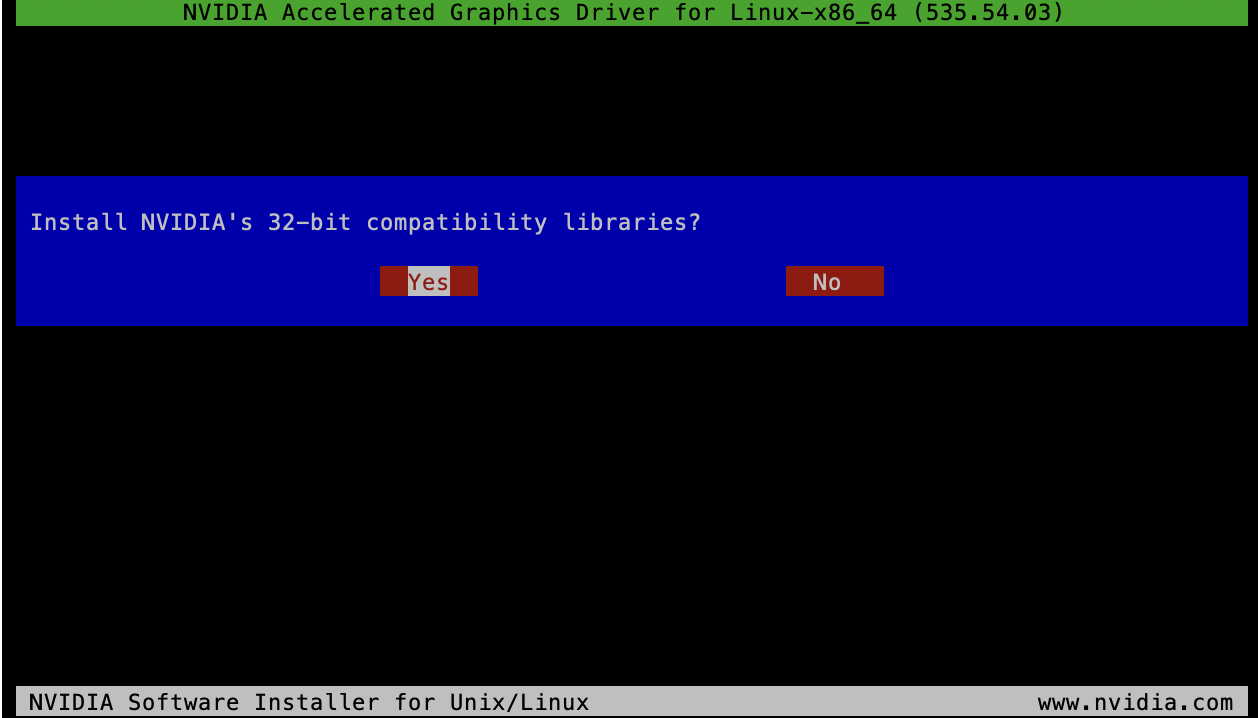
安装32位兼容库
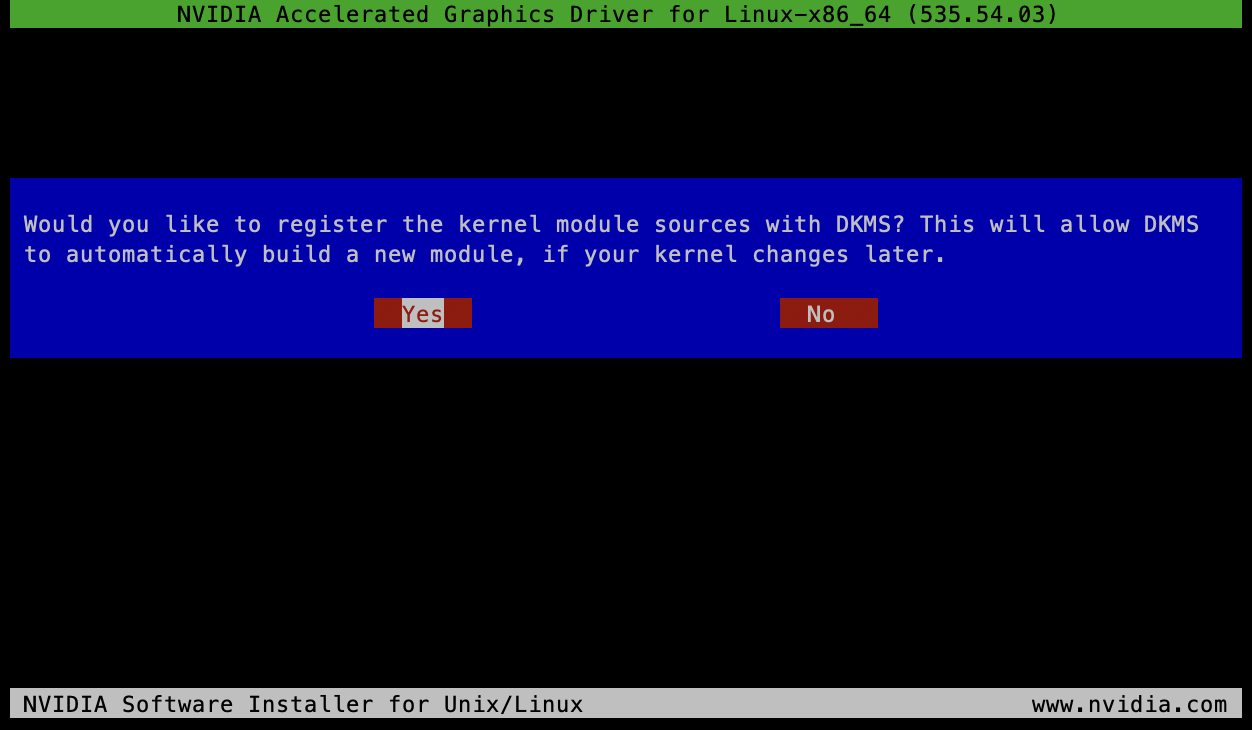
注册为DKMS模块,这样内核更新后驱动会重新编译以自动适配新内核

我们需要手动生成X配置文件,选择No
重启到图形模式
sudo systemctl set-default graphical.target
reboot
激活vGPU许可
sudo curl --insecure -X GET https://<fastapi-dls-ip>/client-token -o /etc/nvidia/ClientConfigToken/client_configuration_token.tok
sudo systemctl restart nvidia-gridd
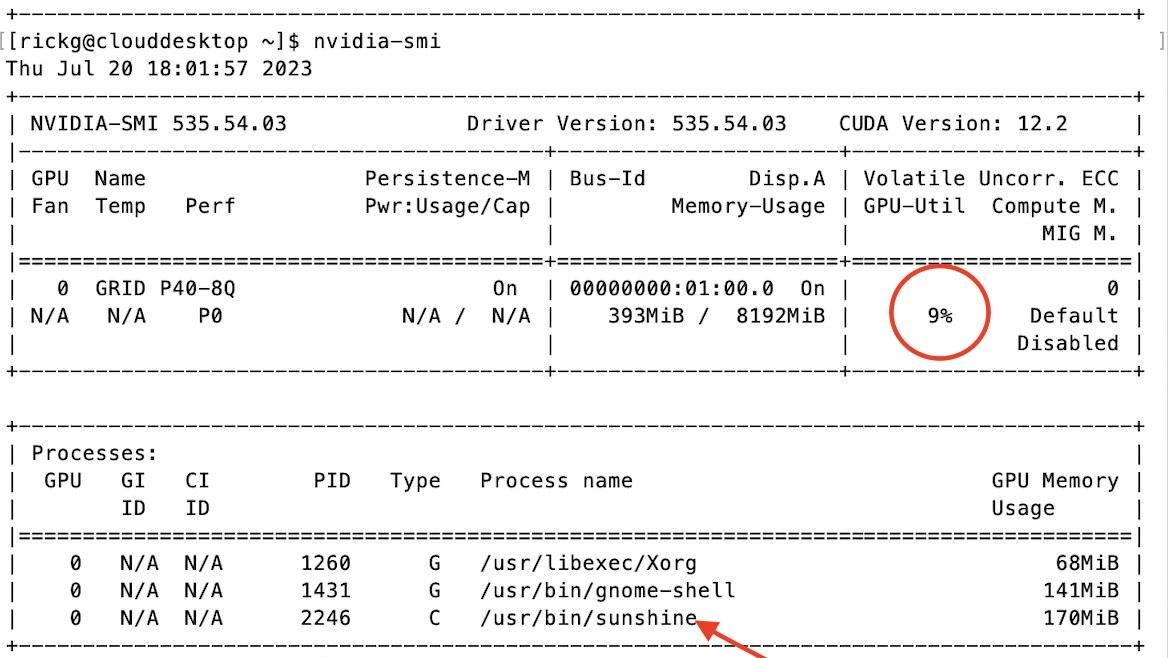
可以执行以下命令查看是否生效:
rickg@clouddesktop:~$ nvidia-smi -q | grep "License"
    vGPU Software Licensed Product
        License Status                    : Licensed (Expiry: 2028-7-19 2:7:2 GMT)
安装Sunshine
下载&安装
前往GitHub Release页面下载Sunshine
{% link https://github.com/LizardByte/Sunshine/releases/ %}
sudo apt install ./sunshine-ubuntu-22.04-amd64.deb添加udev规则
Sunshine需要uinput的权限才能创建鼠标和虚拟手柄事件
echo 'KERNEL=="uinput", SUBSYSTEM=="misc", OPTIONS+="static_node=uinput", TAG+="uaccess"' | \
sudo tee /etc/udev/rules.d/85-sunshine.rules
随后重启
reboot配置GDM & Xorg
GDM
编辑/etc/gdm3/custom.conf,去除WaylandEnable=false的注释:
# GDM configuration storage
#
# See /usr/share/gdm/gdm.schemas for a list of available options.

[daemon]
AutomaticLoginEnable=true
AutomaticLogin=rickg

# Uncomment the line below to force the login screen to use Xorg
WaylandEnable=false

# Enabling automatic login

# Enabling timed login
#  TimedLoginEnable = true
#  TimedLogin = user1
#  TimedLoginDelay = 10

[security]

[xdmcp]

[chooser]

[debug]
# Uncomment the line below to turn on debugging
# More verbose logs
# Additionally lets the X server dump core if it crashes
#Enable=true
Xorg
编辑/etc/X11/xorg.conf:
Section "ServerLayout"
    Identifier     "Layout0"
    Screen      0  "Screen0"
EndSection

Section "Monitor"
    Identifier     "Monitor0"
EndSection

Section "Device"
    Identifier     "Device0"
    Driver         "nvidia"
    VendorName     "NVIDIA Corporation"
    BoardName      "GRID P40-8Q"
    BusID          "PCI:1:0:0"
EndSection

Section "Screen"
    Identifier     "Screen0"
    Device         "Device0"
    Monitor        "Monitor0"
    DefaultDepth    24
    SubSection     "Display"
        Depth       24
    EndSubSection
EndSectionBoardName即GPU型号,BusID根据实际情况来,执行lspci | grep VGA:
rickg@clouddesktop:~$ lspci | grep VGA
00:01.0 VGA compatible controller: Device 1234:1111 (rev 02)
01:00.0 VGA compatible controller: NVIDIA Corporation GP102GL [Tesla P40] (rev a1)
可以看到vGPU的ID是01:00.0,BusID则为"PCI:1:0:0"
连接到VM
重启VM,ssh连接到VM,启动Sunshine服务:
systemctl enable --now --user sunshine访问https://<vm-ip>:47990/,进入WebUI
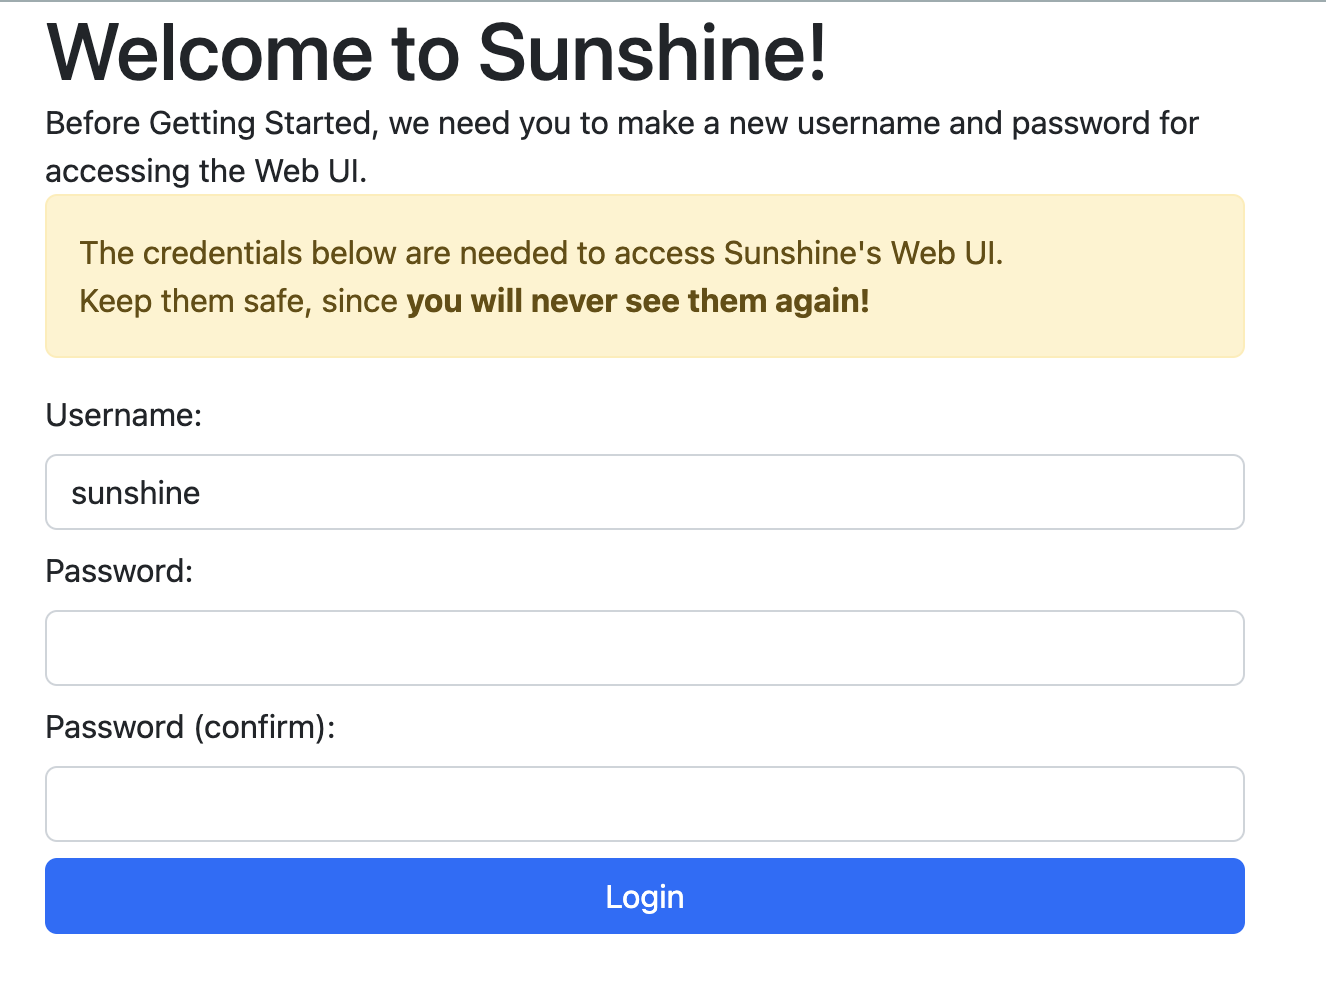
首次配置用户名密码
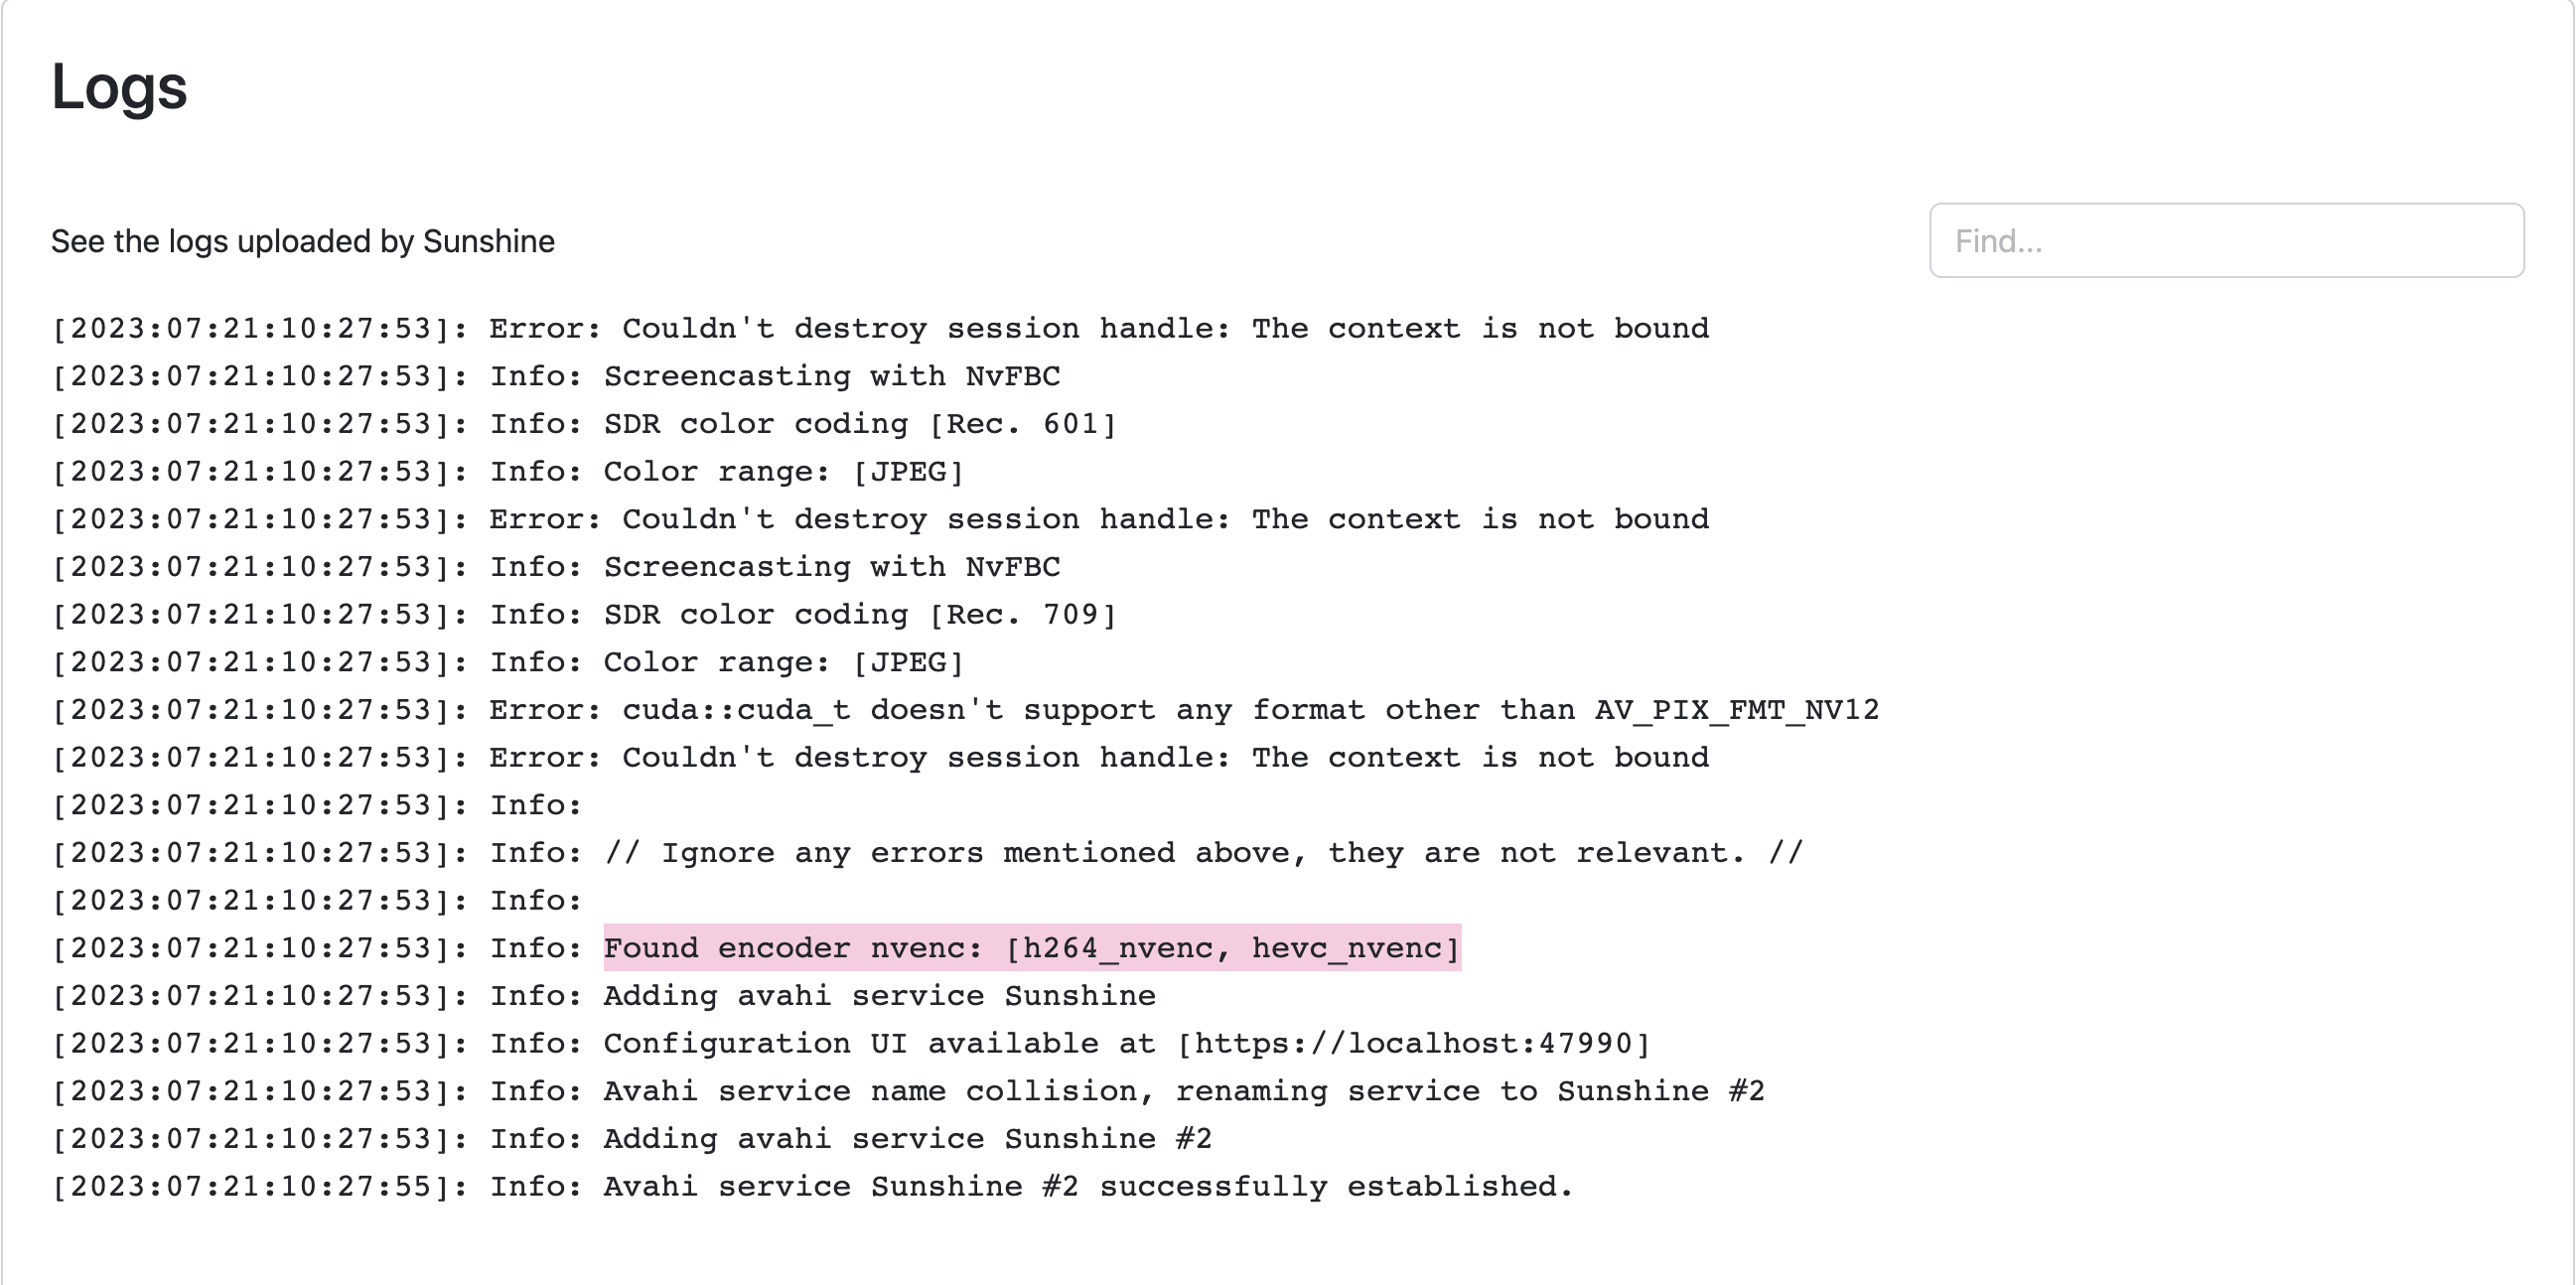
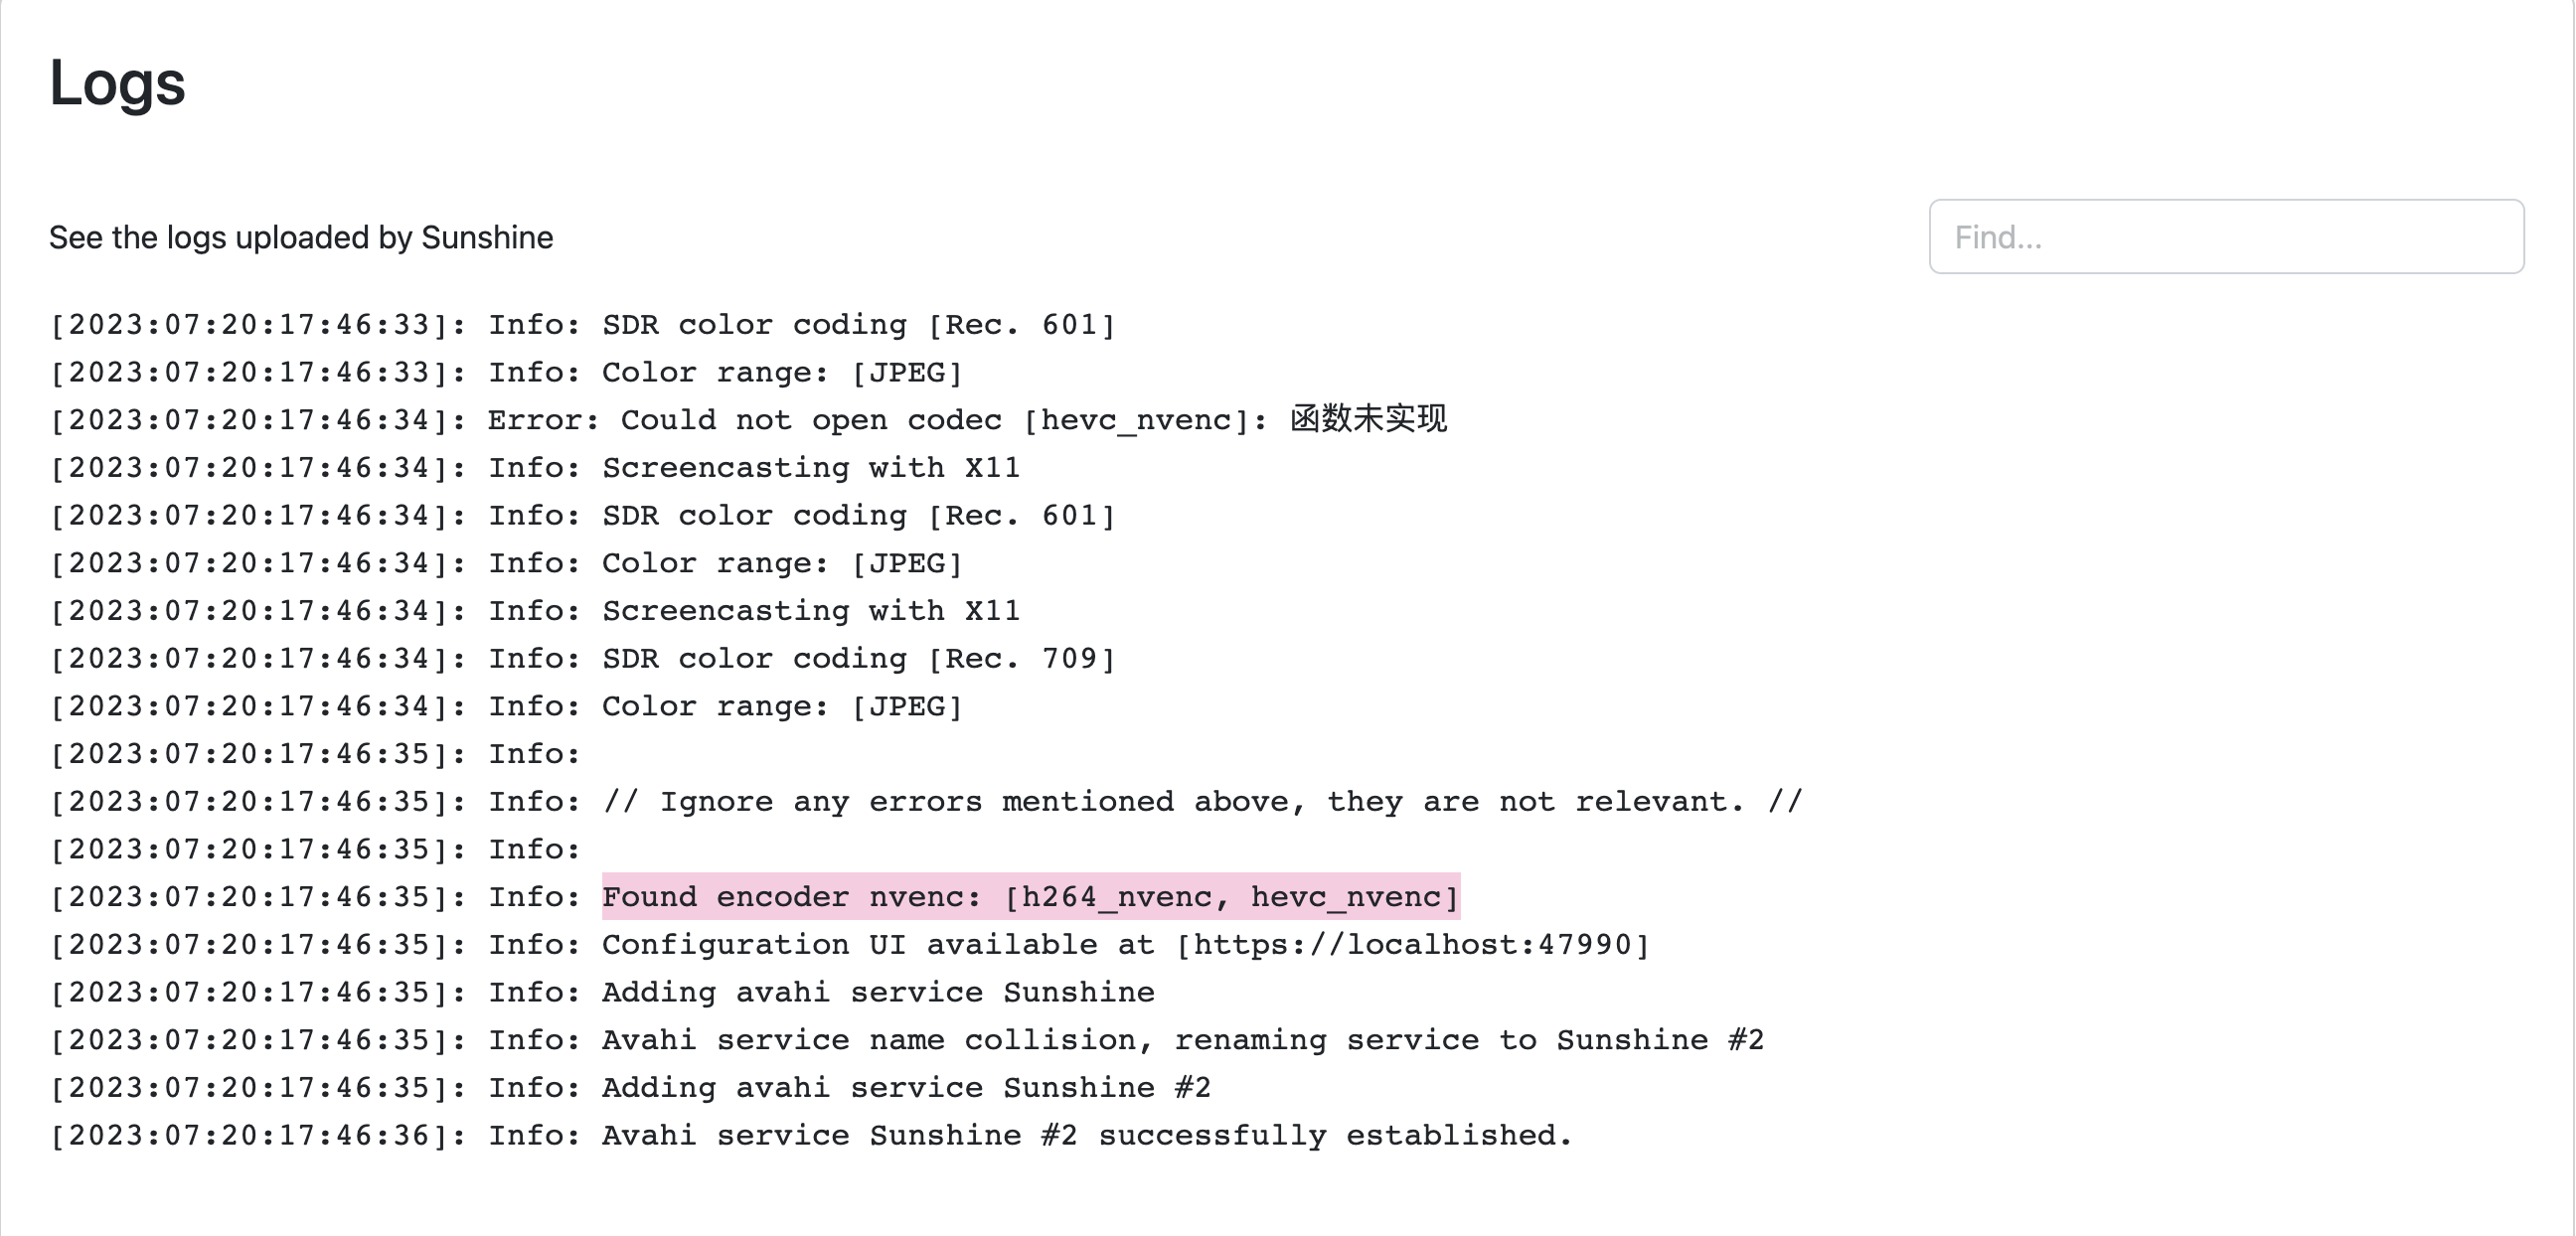
可以看到启用了NVENC硬件编码和NVFBC捕获
打开Moonlight,连接,配对,云桌面就在眼前:
